How to sew a lace sewing pattern, without lace !?
Very often when we think of lingerie, we directly associate lace, its finesse, its transparency, its floral or graphic designs.
Yes, we love lace! But sometimes we can't find the pattern or the color that we like, or quite simply we have a crush on a fabric that does not have a scalloped edge ..!
In these cases, how do you adapt a lace pattern ... without lace !?
In this article, we will give you some tips for replacing the edges of scalloped lace, and thus allow you to personalize your lingerie even more 👌
In these examples, we have used different types of stretch fabrics (lace and jersey width) that do not have scalloped edges. All these examples are possible with other fabrics, as long as they are stretchy 😉
NB: The extensibility of the fabrics being different from one fabric to another, this can affect the final result: The model can be smaller with a component that is not very extensible - and conversely - the model will be larger with a very stretchy fabric.
Are you ready ? Let's go !
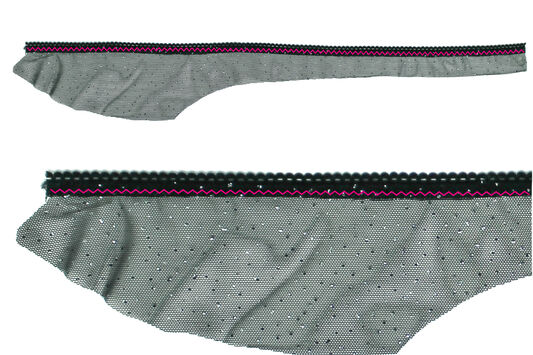
1. Use a small lace braid
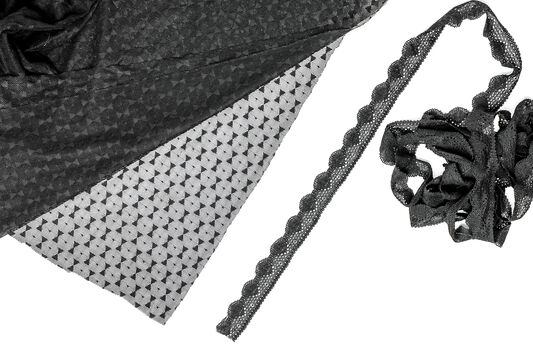 |
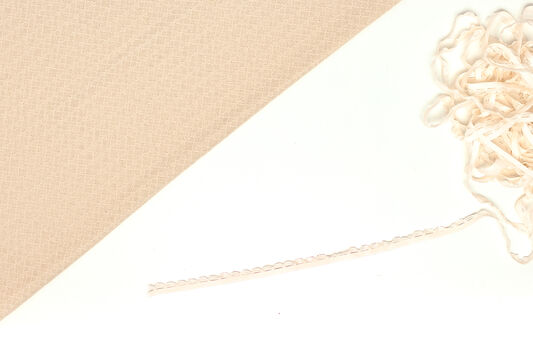
What you need: - A stretch fabric (lace width, jersey, etc.) - A stretch lace braid - The sewing pattern of your choice (here, the Paya boxers) |
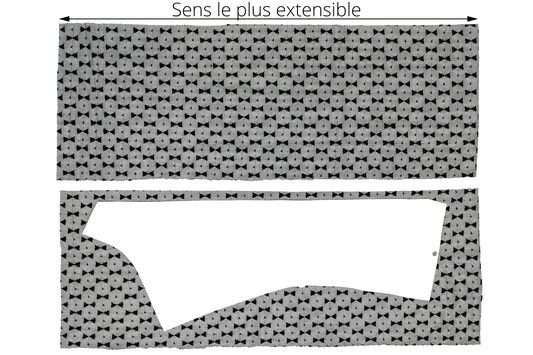 |
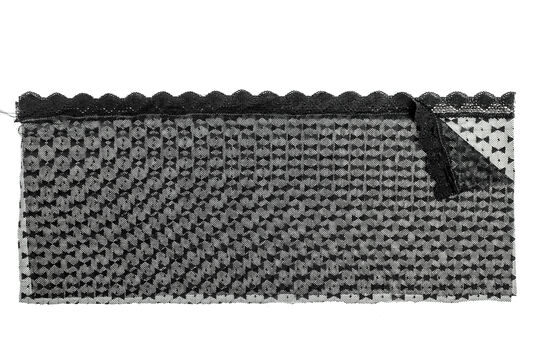
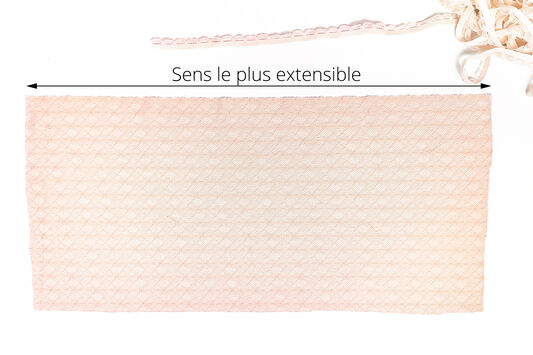
Start by finding the most stretch direction of your fabric.. Then, cut two panels large enough that you can cut the sewing pattern to your size. |
 |
Pin and overlap the edge of the lace braid 5 to 7 mm over the fabric. |
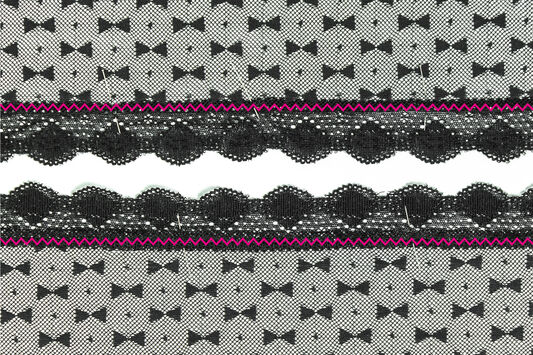 |
Make an stretch seam (a simple Zigzag, or 3-point Zigzag) on the edge of your lace braid to fix it on the fabric and thus keep the extensibility of the materials. |
 |
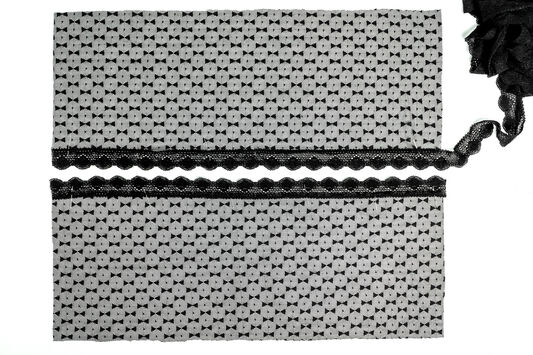
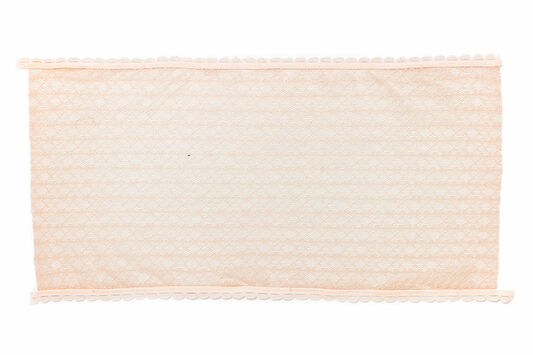
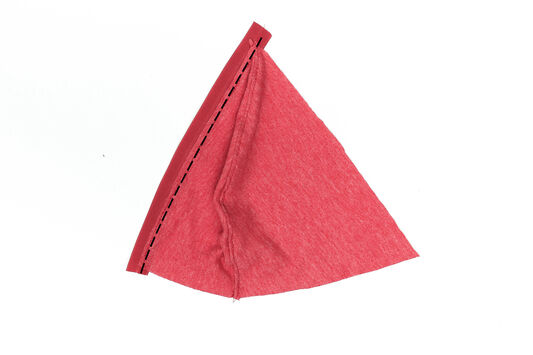
Once your two panels are ready, superimpose them on top of each other, right side up. And match the scallops of the lace braid face to face. |
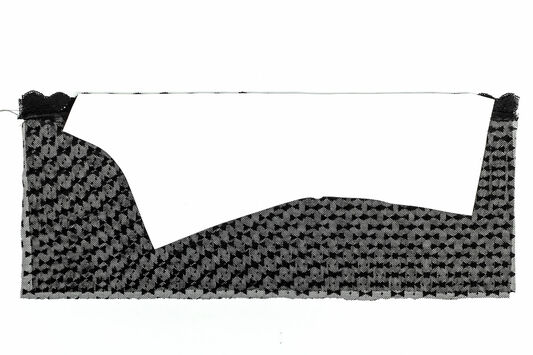 |
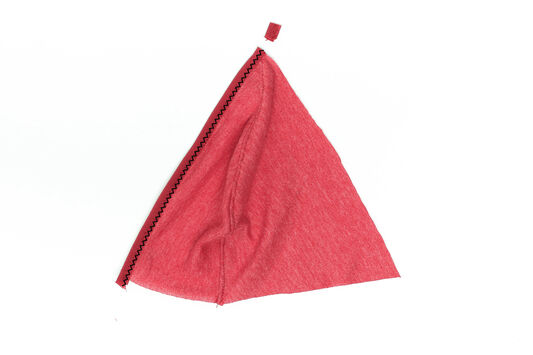
Place your sewing pattern at the level of the scallops as indicated on the pattern, and pin it to the fabric. |
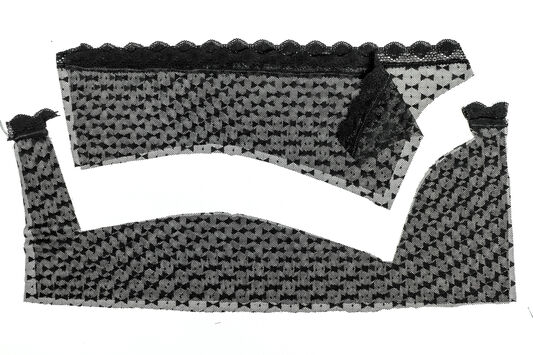 |
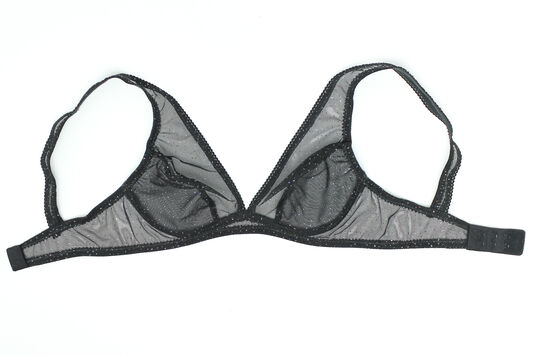
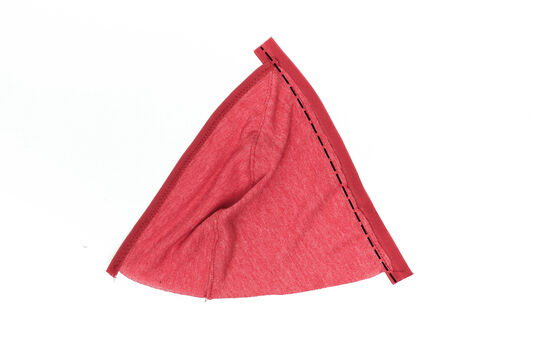
All you have to do is cut all the pieces of your pattern, and follow the tutorial to sew your pattern 🙂 |
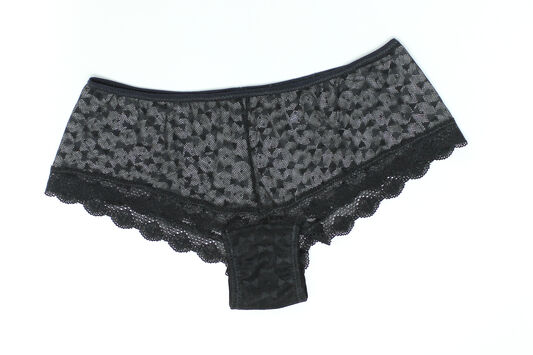 |
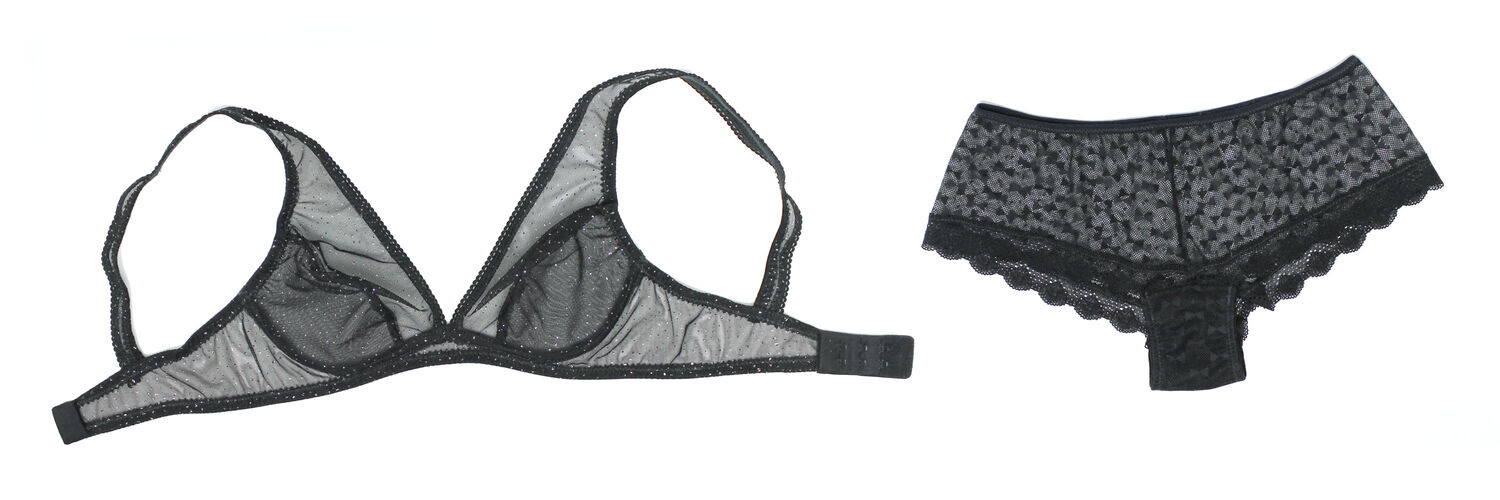
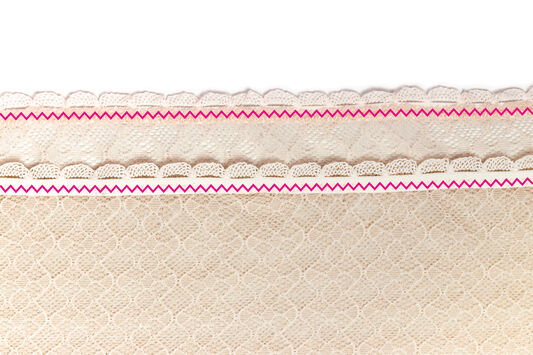
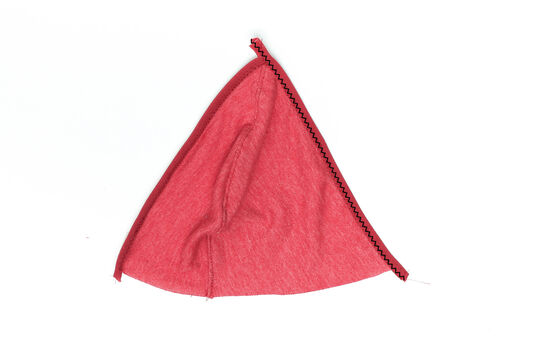
And here's the result ! |
2. Use a fancy elastic, with visible edge or “foot”
 |
What you need: - A stretch fabric (lace width, jersey, etc.) - A fancy elastic with a nice edge or "foot" that you will leave visible. - The sewing pattern of your choice (here, it will be the Kiwiki bra) |
 |
Start by finding the most stretchy direction of your fabric. Then, cut two panels large enough that you can cut the sewing pattern to your size. In this example, since we are going to cut small pieces, we will only be cutting one panel of fabric. |
 |
Pin the elastic on the fabric, overlapping it the width of the "foot" of the elastic. In this example, since we are going to cut small pieces, we have placed a fancy elastic on either side of the rectangle. |
 |
Make an extensible seam (a simple Zigzag, or 3-point Zigzag) on the edge of each elastic to fix it on the fabric and thus keep the extensibility of the materials. |
 |
Fold your fabric in half, right sides together, matching the pins of the elastic face to face. |
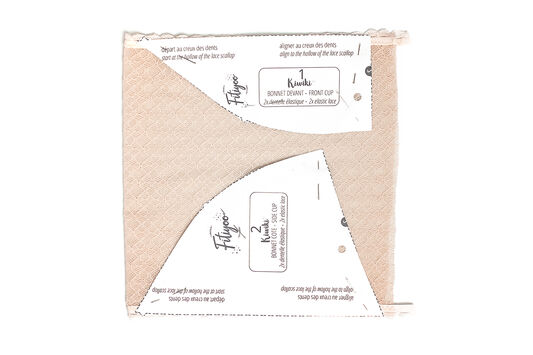 |
Position and pin your sewing pattern at the level of the pins, following the instructions on the pattern. |
 |
All you have to do is cut all the pieces of your pattern, and follow the tutorial to sew your pattern 🙂 |
 |
And here's the result ! |
3. Use an elastic band, with invisible edge or "foot"
 |
What you need : - A stretch fabric (lace width, jersey, etc.) - A simple or fancy elastic. - The sewing pattern of your choice (here, the Smoothie bra) |
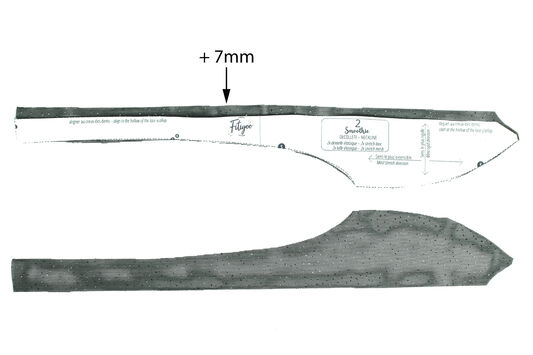 |
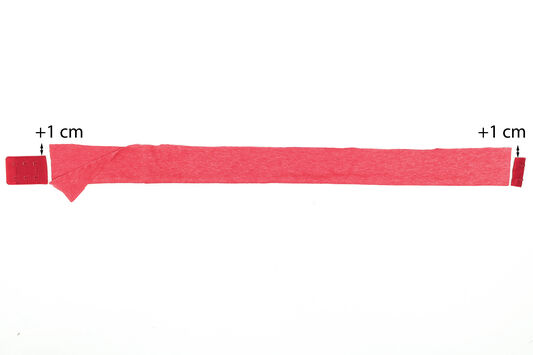
On the sewing pattern, at the level of the line provided for the lace scallops: Add the seam allowance corresponding to the width of the edge (or "foot") of the elastic. This step is essential, because if we do not add this seam allowance, the pattern (and therefore the bra) will be too small. Here, the foot of the elastic is 7 mm, so we added 7 mm at the neckline. Cut the pieces following the most stretchy direction indicated on the pattern. |
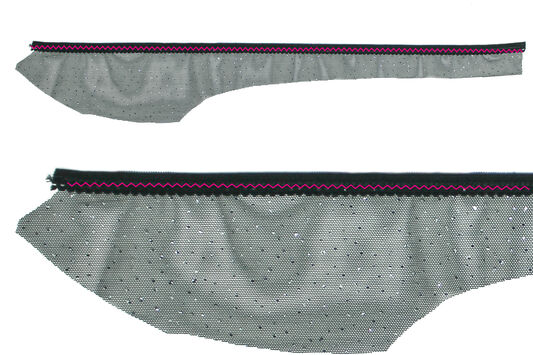 |
Sew the elastic in a zigzag stitch on the right side of the fabric. |
 |
Then bind off the seam allowance towards the inside, and sew the elastic again in a zigzag stitch. |
 |
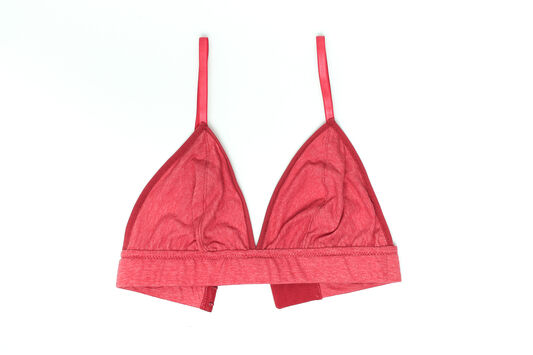
All you have to do is cut and sew by following the tutorial 🙂 For this example, we followed the tutorial "How to transform Smoothie pattern with jersey knit ?" |
4. Use a pre-folded elastic
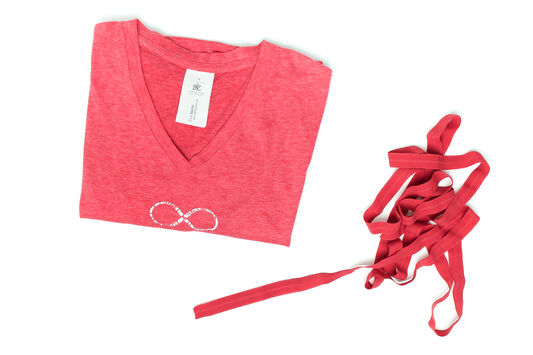 |
What you need : - A stretch fabric (lace width, jersey, etc.). Here, it is an old T-shirt that we have upcycled. - A pre-folded elastic, or a stretch bias in jersey. - The sewing pattern of your choice (here, the Kiwiki bra) |
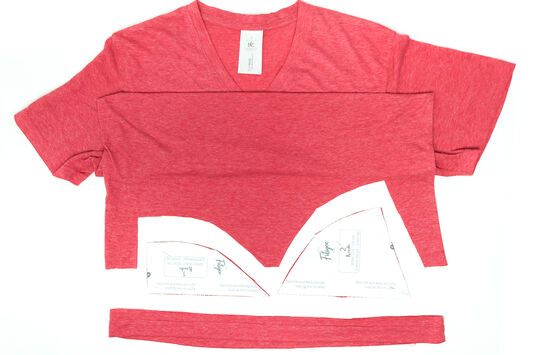 |
Cut out your sewing pattern, placing the lines provided for the scallops of the lace, in the most stretchy direction of your fabric. |
 |
Pre-folded elastics add thickness to the seams. This is why in this example, we sewed the cup before finishing the pre-folded elastics. |
 |
Starting at the neckline, sew a basting seam from the right side of your fabric, stretching the elastic slightly. |
 |
Then, fold it up, and make a stretch seam in the zigzag stitch. Cut the excess elastic at the ends to remove the thickness. |
 |
Under the arm, make a basting seam on the right side of your fabric, stretching the elastic slightly. |
 |
Then, fold it up, and make a stretch seam in the zigzag stitch. NB: You can now remove the basting stitch to keep all the elasticity of the materials. |
 |
For this tutorial, we also used a strip of jersey folded in half to create the underbust belt of the bra: Total Upcycling 😉 |
 |
Follow the steps in your step-by-step tutorial to sew your pattern. And There you go ! A unique result 🙂 |
We hope you enjoyed this tutorial and that it inspired you for future creations 👙
Do not hesitate to take a look at our Sewing tips and our Blog articles if you want to learn new techniques.
And of course, if you have any doubts, don't hesitate to contact us:


