How to add a prosthesis pocket to your bra ?
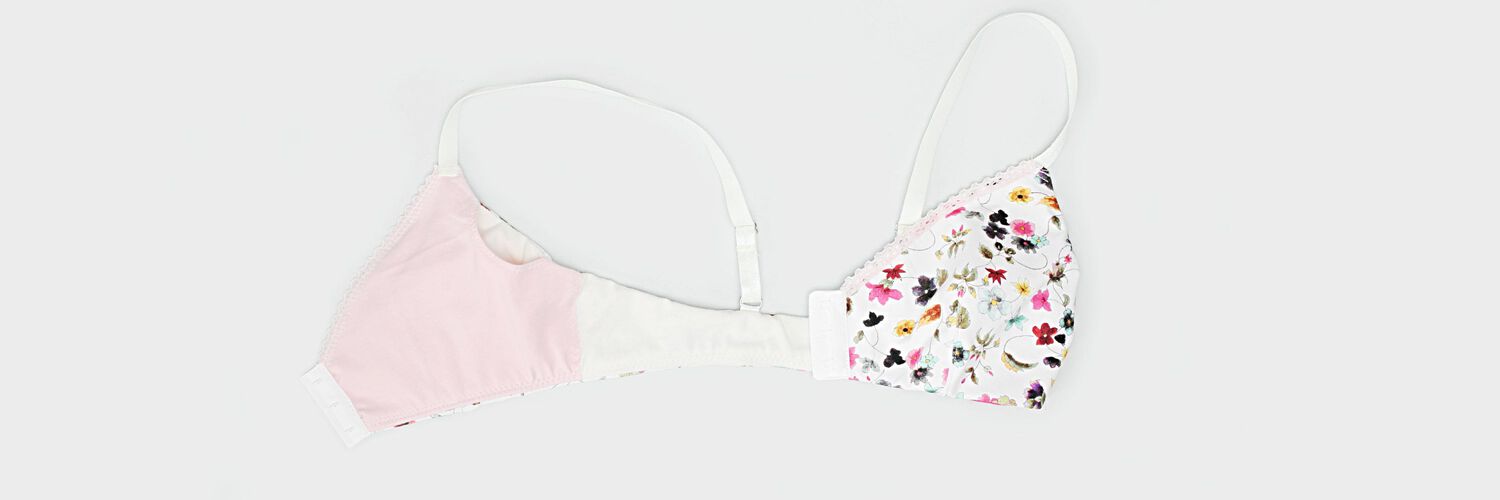
Have you had a mastectomy and want to sew yourself a bra with a pocket to place your prosthesis on your bra?
This article is for you!
As for our article: How to sew a post-operative bra with front closure, for this tutorial, we are "hacking" Cherylada bra (Version B, all jersey), this is the most adapted pattern to do the alteration.
Ready to add a pocket for your breast prosthesis on your bra? Let's go !
- What you need to sew your prosthesis pocket
- Create a sewing pattern suitable for a prosthesis pocket
- Sew the prosthesis pocket on your wireless bra
1. What you need to sew your prosthesis pocket
-A very soft cotton jersey to line the cup of your bra. It can be the same jersey as the one used for the lining.
-The rest of the supplies are, of course, the same as for your bra model.
2. Create a sewing pattern suitable for a prosthesis pocket
If in this article, we insist on the fact that it is a pocket adapted to a prosthesis, it is quite simply, because you will have to create a difference in volume between your bra which includes the prosthesis, and the pocket in which it will be placed (without the volume of the prosthesis therefore).
NB: If you have made changes to your cup sewing pattern (for an opening in front for example), now is the time to transfer these alterations to the piece n ° 2 (cup lining) of Cherylada bra pattern.
This will allow you to have sewing patterns that fit properly together.
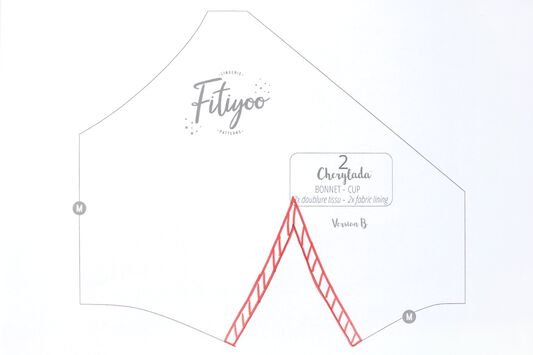 |
We will start by removing the excess volume on the cup by closing the clip of part 2 of the Cherylada pattern: To do this, trace the 5mm of seam allowance parallel to the line of the dart. |
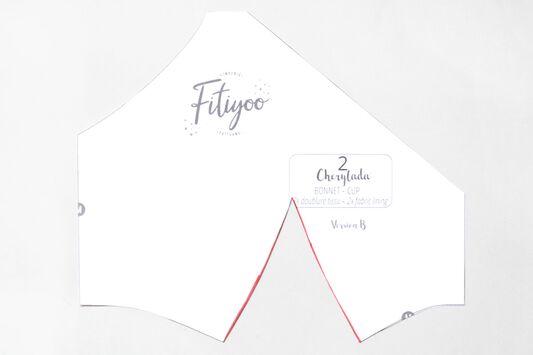 |
Cut out the pattern all around, removing these seam allowances. |
 |
Form the volume of the cup by placing the two lines of the dart edge-to-edge (with tape for example) |
 |
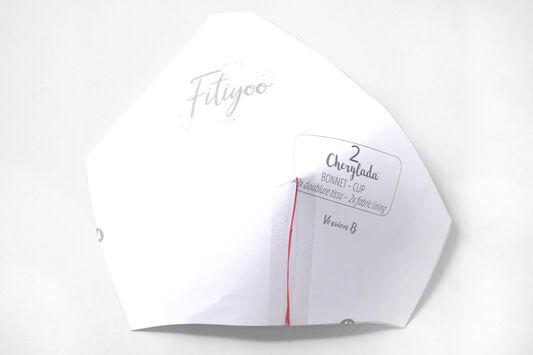
Position your pattern “closed darts” on a sheet of paper, checking that all the exterior surfaces of the pattern are in contact with the sheet (here, we used tape to facilitate the operation) This allows us to keep the correct seam lengths all around the cup. |
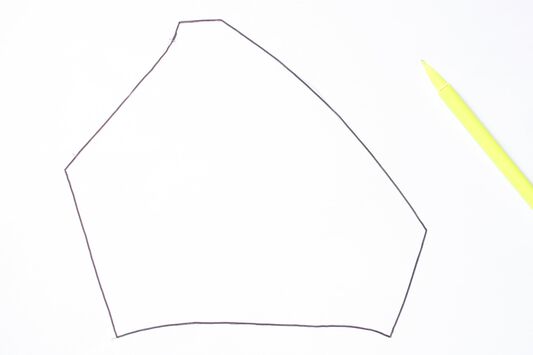 |
Trace all around your pattern to get the lining of your hat without a clip. |
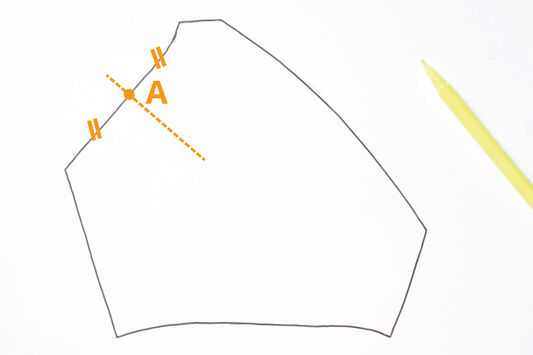 |
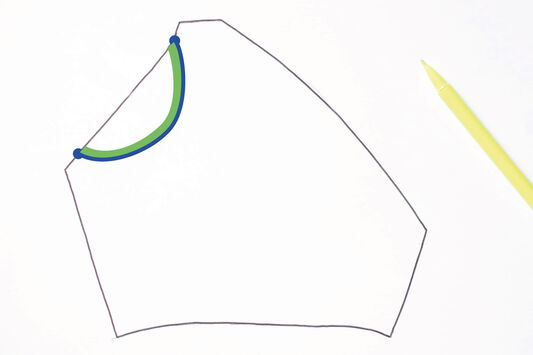
We are now going to create the opening so that we can easily insert a prosthesis in the bra. Measure the width of your prosthesis: you can lay it flat, and measure in a straight line the width you will need. On the armhole line, place a mark (A) at half the length. Draw a perpendicular axis at the armhole line. |
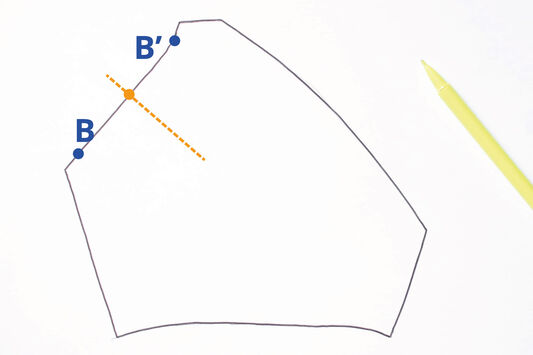 |
On either side of the mark, place new marks (**B ** and B ') each corresponding to half the width of your prosthesis. |
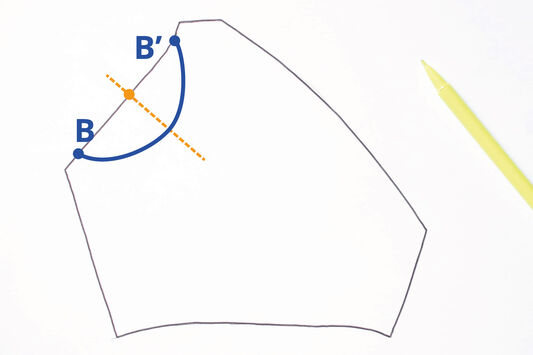 |
Starting from points B and B ', draw a rounded line, passing along the axis of point A. This line corresponds to the opening the pocket that will allow you to slide your prosthesis. The opening must be large enough for you to slide your prosthesis in, but not too large so that it does not relax with use . |
 |
Add 5 mm of seam allowance in parallel, outside the opening |
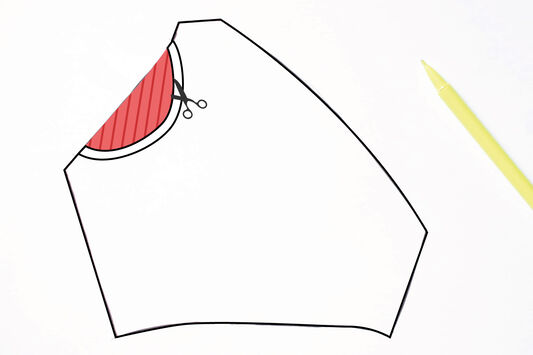 |
Cut out the pattern by removing the area that will serve as the opening. |
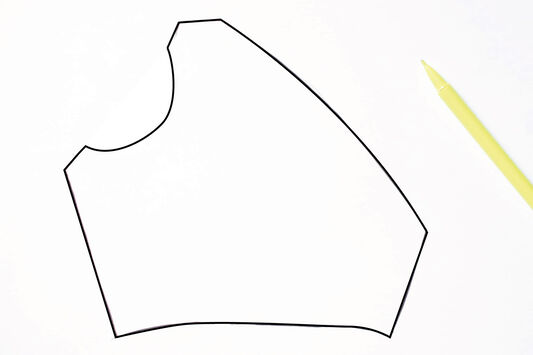 |
And here is the lining of your cup, which will be used to accommodate your prosthesis. |
3. Sew the prosthesis pocket on your wireless bra
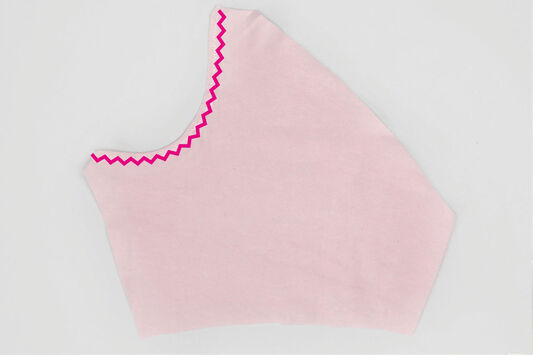 |
Place your pocket right side up on your table, then fold up the pocket opening line 5mm. Sew a ZZ stitch seam to keep the seam folded. |
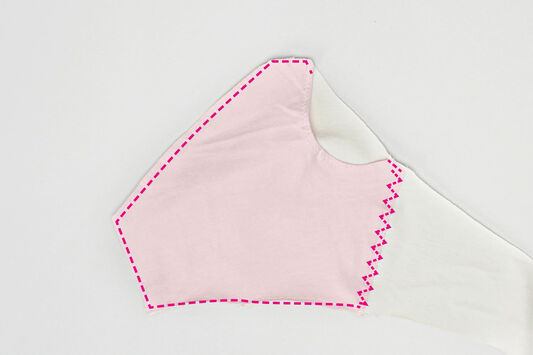 |
On your already sewn lined hat, place your pocket on the wrong side of the pocket, against the right side of the bra lining. Sew a basting seam all around to keep the pocket on the cup lining. <Br / > Sew a ZZ or ZZ 3-point seam on the side to properly close the pocket, so that the prosthesis cannot move once in place. |
There you go, your pocket is now ready, you can continue sewing your bra by following the dedicated tutorials.
NB: If you no longer need this pocket later, simply cut it out on your bra.
We hope you found this tutorial useful 👙
If you have any doubts, do not hesitate to contact us: contact@fitiyoo.com


